

How to repair a damaged cross fitting?
Sep 04, 2025
Leave a message
Hey there! As a cross fittings supplier, I've seen my fair share of damaged cross fittings. It can be a real headache when you run into one, but don't worry – I'm here to walk you through how to repair a damaged cross fitting step by step.
Step 1: Assess the Damage
The first thing you gotta do is take a good look at the cross fitting to figure out just how bad the damage is. Is it a small crack, a big break, or some kind of corrosion? You can use a flashlight to get a better view, especially if the damage is in a hard - to - reach spot.
If it's a minor crack, you might be able to repair it without too much hassle. But if there's a large break or significant corrosion, you may need to replace the whole fitting. You also want to check if the damage has affected the other parts connected to the cross fitting. Sometimes, a damaged cross fitting can cause stress on the pipes it's attached to, leading to more problems down the line.
Step 2: Gather Your Tools
Once you know what you're dealing with, it's time to gather the tools you'll need for the repair. Here's a basic list:
- Safety gear: This includes safety glasses, gloves, and a dust mask if you're doing any grinding or cutting.
- Measuring tools: A tape measure and a caliper can be really useful to make sure everything fits properly.
- Cutting tools: Depending on the type of cross fitting and the damage, you might need a hacksaw, a pipe cutter, or an angle grinder.
- Welding equipment: If you're dealing with a metal cross fitting, you'll need a welder. Make sure you're trained to use it safely.
- Sealing materials: For plastic cross fittings, you'll need a suitable adhesive or solvent cement. For metal ones, you might need gaskets or sealing tape.
Step 3: Prepare the Fitting
Before you start the actual repair, you need to prepare the damaged cross fitting. If there's any dirt, rust, or debris on the fitting, clean it off using a wire brush or sandpaper. This will help the repair materials bond better.
If the damage is a crack, you may need to widen it slightly with a grinder or a file. This creates a V - shaped groove, which makes it easier for the welding material or adhesive to penetrate and form a strong bond.
Step 4: Repairing a Metal Cross Fitting
If you've got a metal cross fitting, like a Butt Weld Equal Cross, welding is often the best way to repair it.
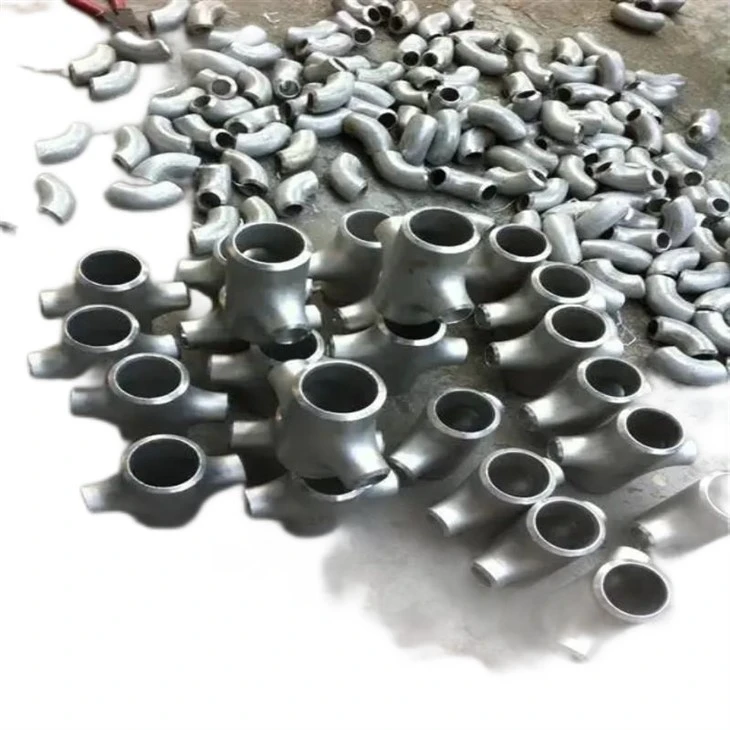
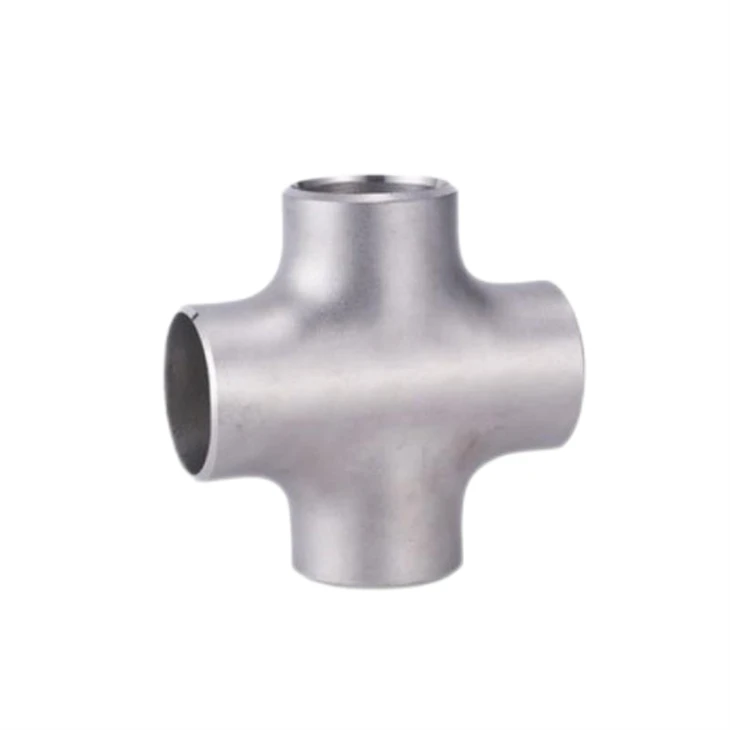
- Welding: Put on your safety gear and set up your welder according to the type of metal and the thickness of the fitting. Start by tack - welding the edges of the crack or break. This holds the pieces together while you do the full weld. Then, make a continuous weld along the crack, using a back - and - forth motion to ensure good penetration.
- Post - welding: After you're done welding, let the fitting cool down slowly. You can use a wire brush to clean off any slag from the weld. Then, you might want to grind the weld smooth to make it flush with the rest of the fitting.
Step 5: Repairing a Plastic Cross Fitting
Plastic cross fittings are a bit different to repair.
- Adhesive repair: If it's a small crack, you can use a plastic adhesive. First, clean the area around the crack with a solvent recommended for the type of plastic. Then, apply the adhesive according to the manufacturer's instructions. Make sure to hold the pieces together firmly until the adhesive dries.
- Solvent cement repair: For a more serious break, you can use solvent cement. Cut out the damaged part of the fitting with a pipe cutter. Then, apply the solvent cement to the ends of the remaining fitting and the new piece you're going to attach. Push the pieces together and hold them for a few seconds until they bond.
Step 6: Testing the Repair
Once you've completed the repair, it's crucial to test it to make sure it's holding up. If it's a water - carrying cross fitting, you can do a pressure test. Close off the ends of the pipes connected to the cross fitting and fill it with water. Then, use a pressure gauge to increase the pressure to a safe level and hold it for a few minutes. Check for any leaks around the repaired area.
If it's a cross fitting in a gas line, you need to be extra careful. Have a professional test it using specialized equipment to ensure there are no leaks.
Step 7: Maintenance Tips
After the repair, you want to make sure the cross fitting lasts as long as possible. Here are some maintenance tips:
- Regular inspections: Check the cross fitting periodically for any signs of new damage, like cracks or corrosion.
- Proper support: Make sure the cross fitting and the pipes connected to it are properly supported. This reduces stress on the fitting and prevents future damage.
- Environmental protection: If the cross fitting is exposed to harsh environmental conditions, like extreme temperatures or chemicals, consider using protective coatings or insulation.
Conclusion
Repairing a damaged cross fitting isn't always easy, but with the right tools, knowledge, and a bit of patience, you can get the job done. Whether you're dealing with a metal or plastic cross fitting, following these steps can help you make a successful repair.
If you're in the market for new cross fittings or need more advice on cross fitting repairs, don't hesitate to reach out. We're a cross fittings supplier with a wide range of products and plenty of expertise. Just contact us, and we'll be happy to assist you with your purchasing needs and answer any questions you might have.
References
- "Pipe Fitting Handbook" - A comprehensive guide on pipe fittings and their repairs.
- Manufacturer's manuals for welding equipment and adhesives used in cross fitting repairs.
Send Inquiry